How Do I Replace A Window Sill Easily
Window Sills: Small Feature, Big Impact on Your Home
Window sills may seem like small parts of your home, but they play a big role. They give your windows a finished look and help protect your walls from water and wear. Over time, window sills can get damaged from moisture, heat, or just age. You might notice peeling paint, soft spots, or broken trim. When that happens, it’s time to act. Many homeowners ask, How do I replace a window sill without needing a contractor? The good news is, you can do it yourself if you follow the right steps. This guide will walk you through the entire process in simple, easy-to follow language.

When Is It Time To Replace A Window Sill?
Before you start tearing things apart, you need to know when a window sill really needs replacing. Look closely at the sill and the surrounding trim. If the wood is soft, cracked, or rotting, it needs to go. Moisture is the main cause of damage, especially on older wooden sills. You might also see mold, bubbling paint, or pieces pulling away from the wall. These are clear signs that it's time for a change. Replacing a window sill now can stop further damage and save you money later. It also improves the look and energy efficiency of your window.
How Do I Replace A Window Sill Without Hiring A Pro?
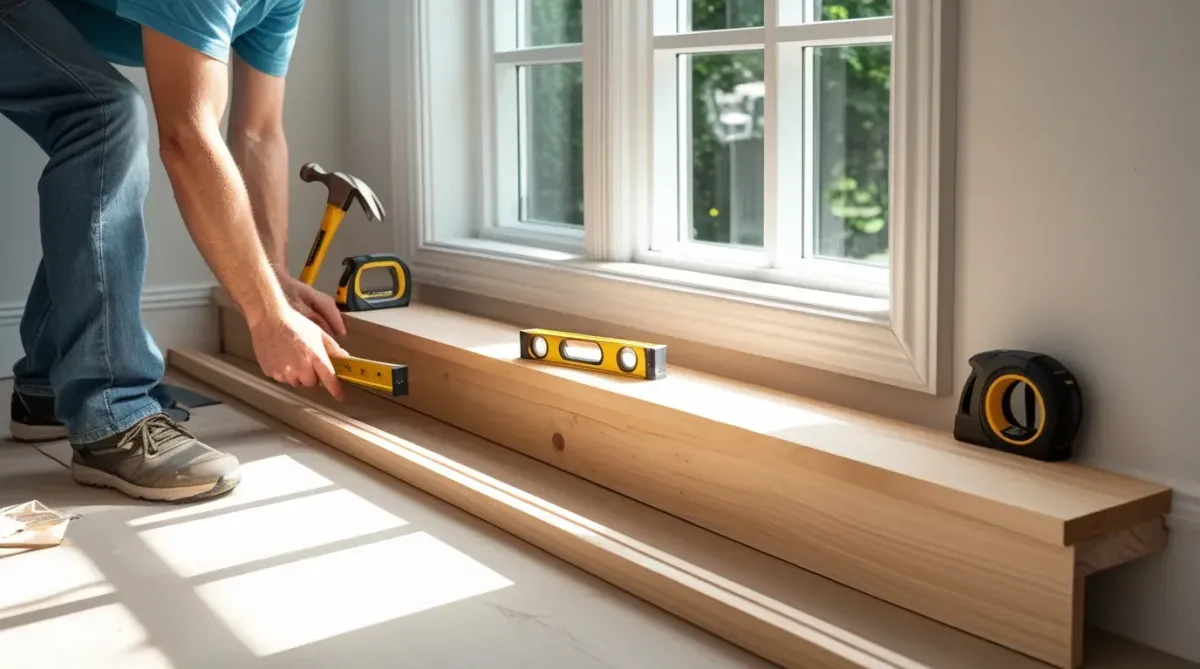
Replacing a window sill isn’t as hard as it seems. With a few tools and a little time, you can get it done on your own. The first step is to take measurements of your current sill and note how it fits with the window trim. Then gather your tools like a pry bar, hammer, saw, and screwdriver. You’ll remove the old sill, clean the area, and fit the new one in place. After installing the new piece, you’ll need to finish it with trim, caulk, and paint or stain. With care and patience, you’ll have a fresh window sill that looks great and holds strong.

Understanding Interior Window Sill Trim and Its Purpose
The interior window sill trim isn’t just for looks. It helps cover gaps, holds parts in place, and protects the wall around the window. It includes the sill itself, the trim around the edges, and sometimes a piece underneath called the apron. The trim also helps blend the window into the room’s design. You might hear it called the window casing or window trim and sill. When replacing the sill, it's a good idea to replace the trim too, especially if it’s damaged or doesn’t match the new wood. A well-trimmed sill keeps your window looking neat and sealed.
Removing Old Window Trim And Damaged Sill Sections
Start by carefully removing the old trim. Use a utility knife to cut through caulk lines so you don’t damage the wall. Then use a flat pry bar to gently lift the trim and sill away from the wall and window frame. If the sill is rotted, parts might crumble as you work. That’s okay just be gentle and take your time. Clean up any debris or leftover nails before moving on. It’s important to have a smooth, clean space before you install anything new. This helps the new pieces fit well and stay in place.
How To Replace Interior Window Trim Step by Step
Here’s a simple step-by-step guide to replacing your interior window trim:
Measure and cut your new trim pieces. Match the size and shape of the old trim.
Start with the sill. Fit it in place at the bottom of the window first.
Attach side trim pieces. Place one on each side of the window frame.
Add the top casing. This is the horizontal piece that runs across the top.
Nail everything in place. Use finishing nails or a nail gun, keeping all edges aligned.
Check for gaps. Fill any small spaces with caulk for a clean finish.
Sand lightly if needed. Smooth any rough edges or joints.
When all the trim is installed, your window will have a neat, framed look that holds up well over time.

Installing A New Wooden Window Sill The Right Way
Wooden window sill replacement starts with cutting the new sill to size. You can use a piece of pine, oak, or another hardwood. Make sure the front edge overhangs slightly for a classic look. Dry-fit it first to be sure it fits. Then add wood glue along the bottom edge and press the sill into place. Use finishing nails to secure it. Let the glue dry fully. Once it’s set, check that the sill is level and snug. A properly installed sill helps seal the window and supports the entire trim structure.
Finishing The Job: Window Sill Trim Interior Installation
With the new sill in place, it’s time to add the window sill trim interior parts. These pieces wrap around the sill and blend it into the window and wall. Nail the trim in carefully, then use caulk to fill any seams.
Sand the surface if needed to smooth out any rough spots. Then paint or stain the trim to match the rest of your room. This final step pulls everything together and gives your work a polished look. Your window will now look brand new, inside and out.

Adding Molding Under The Window Sill For A Clean Look
Here’s a step-by-step breakdown for adding molding under your window sill:
Choose your molding style. Pick between a simple board or a more decorative apron trim based on your room’s design.
Measure and cut the molding. Ensure it fits snugly beneath the sill and is equal on both sides.
Position the molding. Place it centered under the sill and make sure it sits flush with the wall.
Attach with nails. Use finishing nails to secure it tightly without gaps.
Seal the edges. Apply caulk where the molding meets the wall and sill for a smooth look.
Finish the surface. Paint or stain the molding to match the window sill and surrounding trim.
Matching Your Window Trim And Sill In Coeur d’Alene Homes
In Coeur d’Alene, weather changes can cause windows to expand and contract. That’s why using strong materials and tight seals is important when replacing sills. A good fit helps block drafts and keeps moisture out.
If your window trim is outdated or damaged, replacing it with the sill gives you a fresh start. At Inland NW Windows, we’ve helped many homeowners in the area upgrade their interiors by replacing worn sills with clean, well-fitted wooden ones. It's a smart way to improve both appearance and function.
Conclusion
Replacing a window sill may seem like a big job, but with the right tools and a step-by-step plan, it’s something most homeowners can do on their own. From removing the old trim to installing a new wooden sill and finishing it with fresh interior trim, every step makes your window stronger, cleaner, and more beautiful. Whether you’re fixing damage or just updating the look of your space, learning how to replace interior window sills and trim gives you more control over your home’s care. And when done properly, your windows will not only look great, they’ll help keep your home protected for years to come.
If you're unsure about taking it on alone or want expert results, reach out to Inland NW Windows. We’re here to help homeowners in Coeur d’Alene get the job done right, with trusted guidance and quality solutions for every window project.
