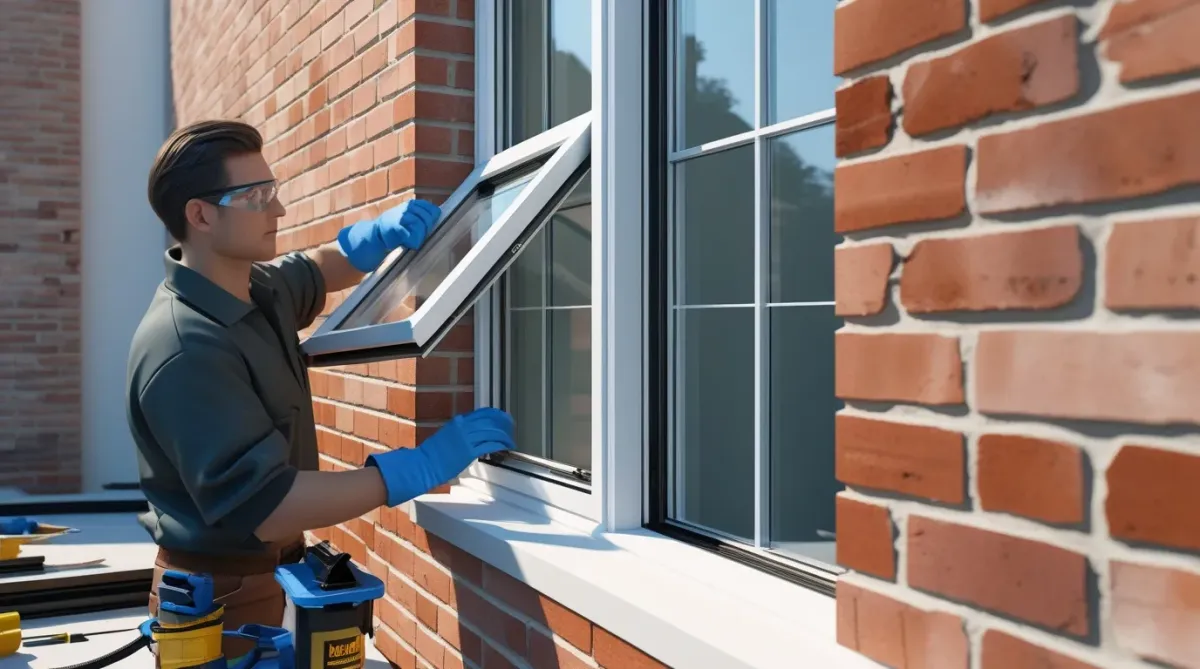
Install Replacement Windows in a Brick House
How to Install Replacement Windows in a Brick House
Brick homes are strong, beautiful, and long-lasting. But when it comes to replacing windows, they need special care. That’s because brick doesn’t move like wood or siding. It’s solid and heavy, and if you don't follow the right steps, you could crack the bricks or cause water leaks.
Learning how to install replacement windows in a brick house the right way helps you avoid damage and makes sure the windows stay secure for years. Whether you're doing the job yourself or hiring someone, it’s important to understand how the process works and what to expect.
What to Know Before You Begin Window Replacement
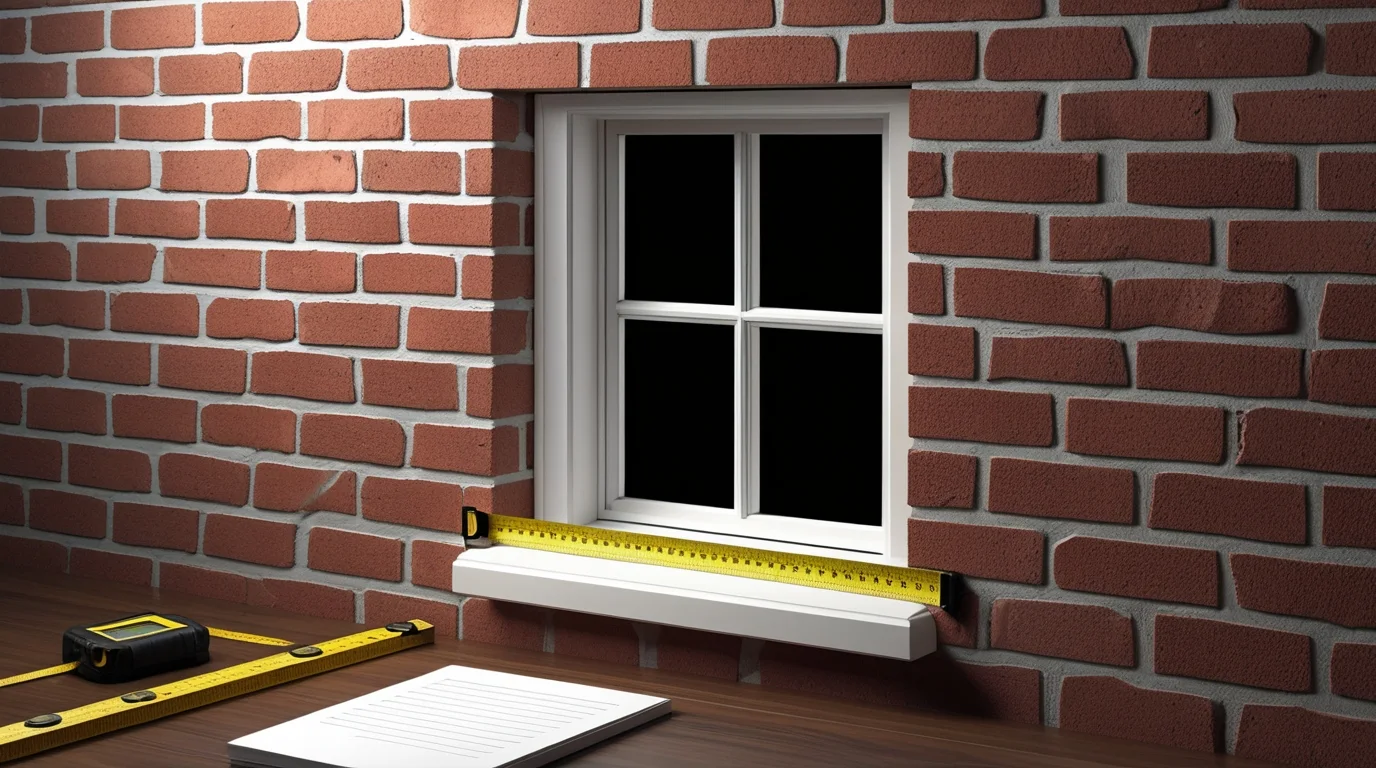
Before you begin, make sure you’re prepared. Here’s what to do:
Measure your windows carefully. Measure both the width and height from the inside edge of the brick opening.
Choose the right type of replacement window vinyl, fiberglass, or wood-clad. Make sure it’s made for brick installation.
Decide between full-frame or insert replacement. A full-frame replaces everything, including the frame. An insert keeps the old frame.
Get the right tools: hammer, pry bar, tape measure, caulking gun, screws, drill, waterproof flashing tape, insulation foam, safety glasses, and gloves.
You’ll also need to check the weather. Never remove a window if rain is expected. A dry, calm day is best.
Step-by-Step: How to Install Replacement Windows in a Brick House
Replacing a window in a brick wall is more detailed than in a wood-framed house. Here's how it’s done:
Step 1: Remove the old window
Carefully take off the interior trim. Score the edges with a utility knife and use a pry bar to remove the trim without damaging the wall. If it’s a full-frame replacement, you’ll need to cut or pry out the old frame too.
Step 2: Clean and inspect the opening
Look for any damage, such as rotted wood or loose bricks. Clean away dust and debris. Make sure the sill is level.
Step 3: Dry-fit the new window
Place the new window into the opening to check the fit. It should be snug but not too tight.
Step 4: Apply flashing and caulk
Use waterproof flashing tape around the sill and sides of the opening. Add caulk to the back of the window’s nailing flange or brickmold if it has one.
Step 5: Install the new window
Place the window in the opening. Use shims to center it and level it. Screw it in through the pre-drilled holes. Recheck for level and plumb.
Step 6: Seal the edges
Use spray foam insulation around the frame gaps. Once dry, trim the extra foam and caulk the exterior edges.
Step 7: Replace the interior trim
Reinstall or replace the interior trim for a finished look.
Full-Frame Window Replacement in Brick Houses
A full-frame window replacement in a brick house means removing everything the sash, the frame, and the casing. It gives you a fresh start and is the best option if your old frame is rotted or poorly sealed.
Here’s how this method works:
Remove the entire window frame, including the sill and jambs.
Install a new frame made to fit the brick opening.
Flash the sill and sides to prevent water intrusion.
Mount the window with screws or anchors, using shims for alignment.
Insulate and seal all gaps with foam and caulk.
This option takes more time and labor, but it gives you better energy savings and longer-lasting results.
Removing Old Windows Without Damaging Brick
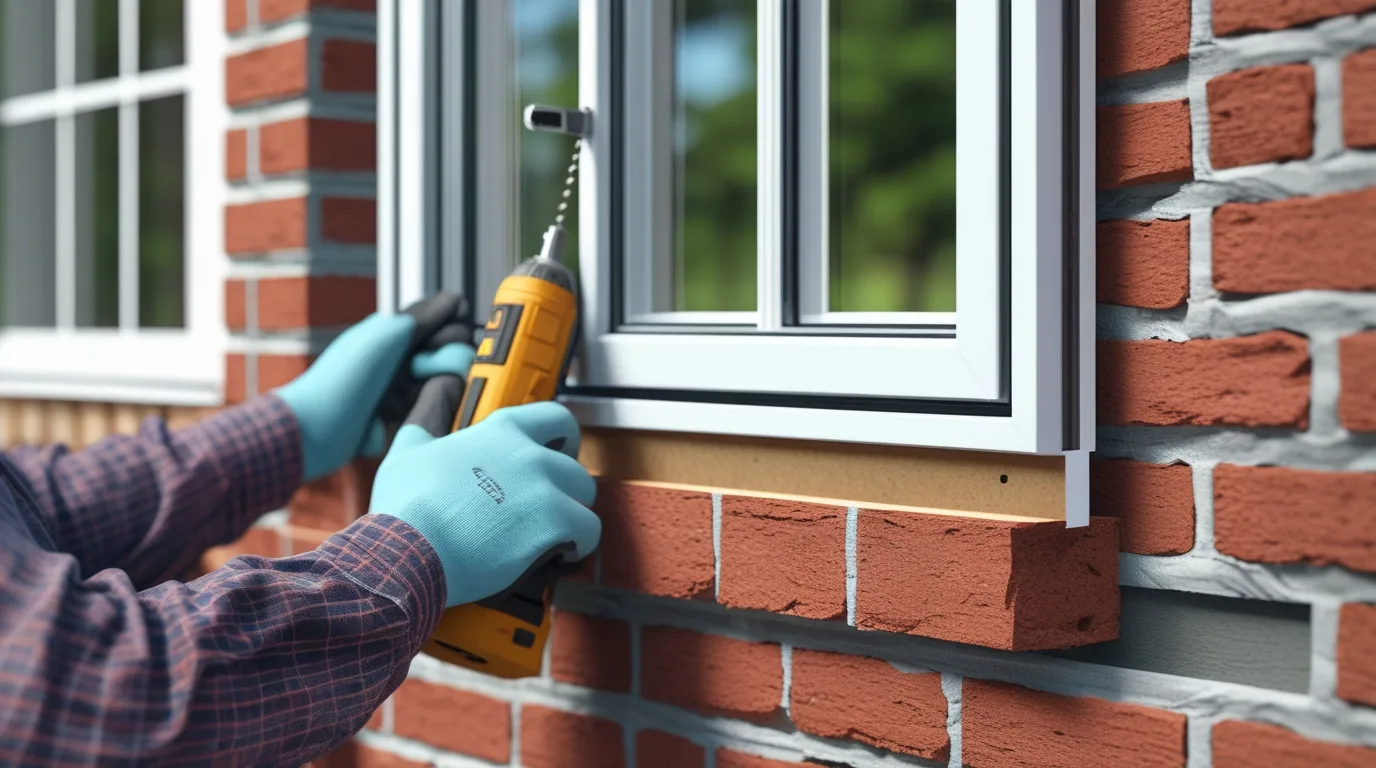
When replacing windows in a brick house, the hardest part is removing the old ones without hurting the brick. Bricks can chip or crack if you're not careful. Here are safe steps:
Score all caulk lines between the window frame and the brick using a sharp knife.
Use a pry bar to loosen the old frame from inside.
Avoid pulling against the brick; work slowly and evenly.
If screws or nails are stuck, cut them with a reciprocating saw.
By taking your time and working gently, you can avoid costly brick damage.
Installing Replacement Windows in Brick House Openings
Once the old window is out, it’s time to install the new one. Installing replacement windows in brick house openings requires care and precision.
Always dry-fit before sealing.
Use shims to adjust placement.
Don’t over-tighten screws it can warp the frame.
Apply a continuous bead of caulk between the window and brick for a watertight seal.
Install metal or PVC drip caps if not included with the window.
It’s also smart to photograph each step in case you need warranty help later.
Sealing, Caulking & Flashing: Keeping Brick Walls Watertight
Brick walls can absorb water. That’s why flashing, caulking, and sealing are important parts of the job.
Flashing tape goes under the window sill and up the sides to direct water away.
Caulking fills the gaps between the window frame and the brick.
Foam insulation inside the gaps helps block air leaks.
Make sure your caulk is made for exterior use and can handle brick expansion and contraction.
Brick Window Replacement: Tips for a Tight, Clean Fit
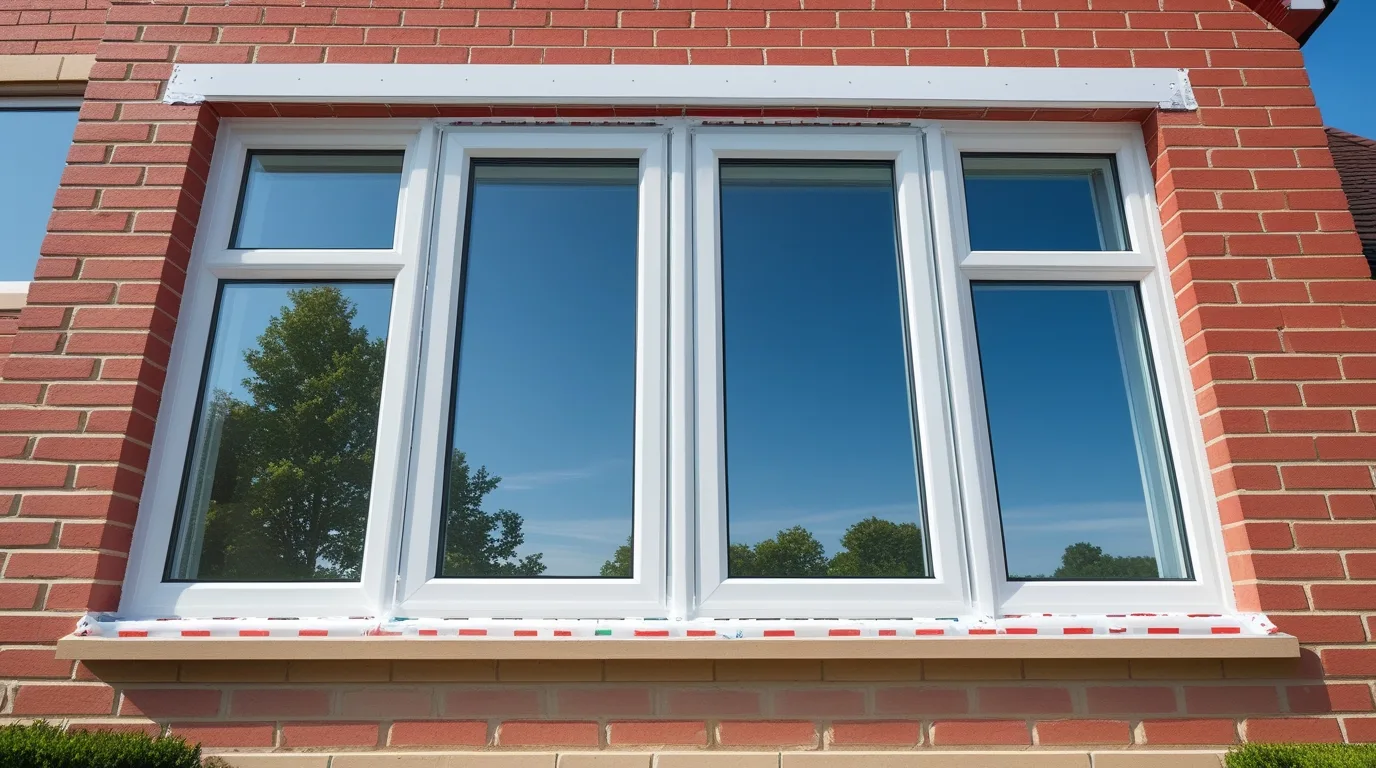
A clean finish makes your brick window replacement look professional. Here are tips for getting it right:
Use pre-mitered interior trim or custom-cut pieces for a smooth inside edge.
On the outside, use color-matched caulk to blend with the brick.
Keep the sill angled slightly outward to drain rainwater.
Add a backer rod behind wide gaps before caulking for better results.
Don’t rush the details this is what makes your windows look like they’ve always been part of the house.
How to Replace a Window in a Brick House Without Interior Damage
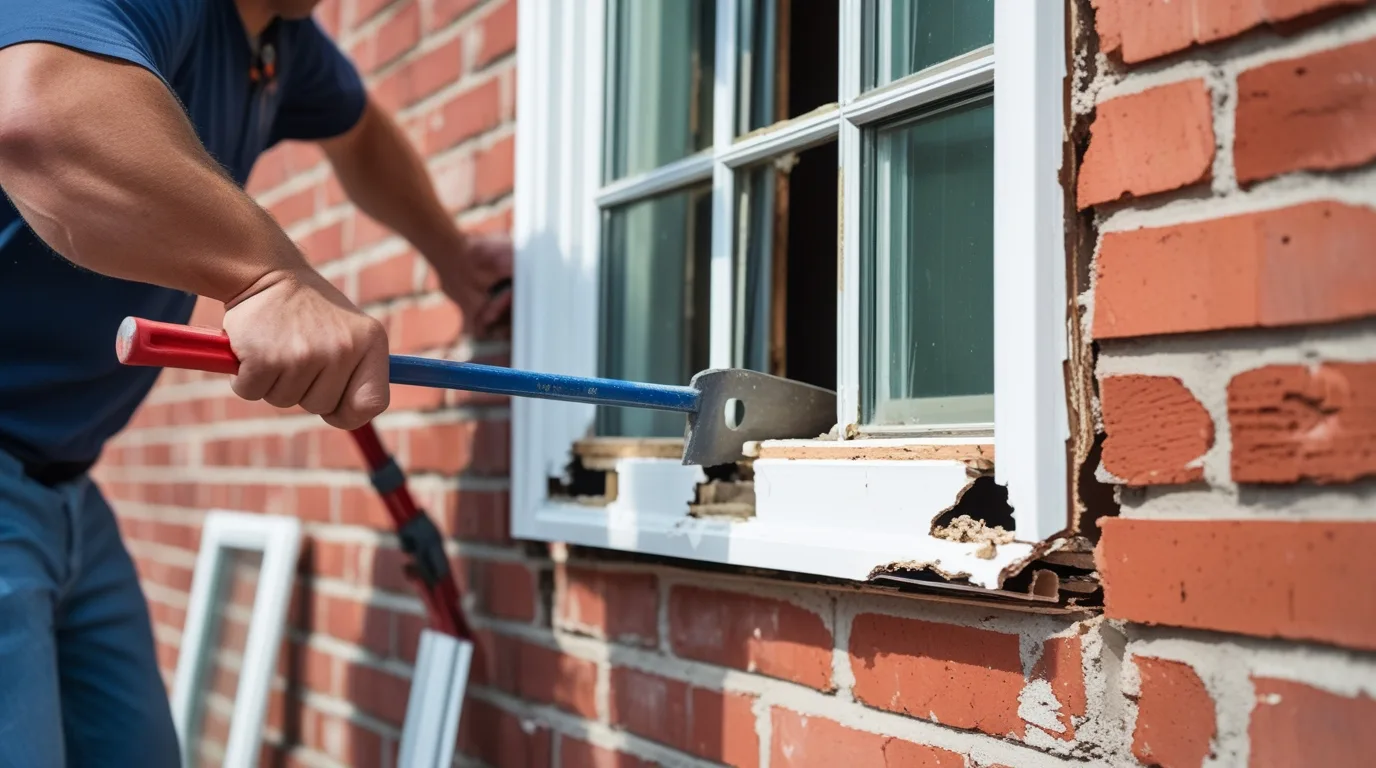
Worried about damaging drywall or trim? Here’s how to replace a window in a brick house while keeping your interior neat:
Use a utility knife to cut paint lines before removing interior trim.
Cover floors and furniture with drop cloths to catch dust or debris.
Don’t pry hard against finished walls use leverage from the window side.
If trim is glued or nailed tight, score it in small sections and remove it in pieces.
With care and patience, your home can stay clean and damage-free throughout the job.
Local Insights: Window Replacement in Brick Homes in Coeur d’Alene, ID
Brick homes in Coeur d’Alene, ID face unique challenges. Winters bring freezing temperatures, and summers can be hot and dry. That’s why proper sealing and insulation are key during window replacement in brick house projects.
At Inland NW Windows, we understand the local climate and know how brick reacts to seasonal changes. We help homeowners choose windows that resist thermal movement, improve energy efficiency, and last longer even in harsh weather conditions.
Final Tips: Making Replacement Windows Last in Brick Walls
Once your new windows are in, don’t forget about maintenance:
Re-check caulking each year.
Clean the frames and glass with gentle soap and water.
Keep weep holes clear at the bottom of the window for drainage.
Avoid power washers on brick use a soft brush or low-pressure hose.
Good care means your windows will stay airtight, leak-free, and beautiful for years.
Need help replacing your brick house windows? Inland NW Windows is here to make the job easier, safer, and done right the first time. Reach out today for expert advice or installation support!
Conclusion
Replacing windows in a brick house takes patience, the right tools, and a careful plan but it’s absolutely doable with the right steps. From removing the old frames to sealing your new windows tight against the brick, every part of the process matters. Whether you're doing a full-frame replacement or simply upgrading for energy savings, attention to detail will help your new windows last for years to come.
If you’re unsure about handling it all yourself, Inland NW Windows is here to help. Our team understands the unique challenges of working with brick homes and is ready to guide or assist you through the entire process. Let your next window replacement be simple, smooth, and stress-free.